Are you looking for a way to improve communication and streamline your customer support process? Look no further than integrating live chat, Slack, and WordPress.
In the previous tutorial, we covered how to embed and integrate Slack into your website with HTML/JavaScript code snippet. In this tutorial, we’ll walk you through the steps of integrating Live Chat, Slack, and WordPress to create a seamless and efficient customer support experience.
Why Integrate Live Chat, Slack, and WordPress?
Integrating live chat, Slack, and WordPress offers numerous benefits for your business. Here are just a few reasons why you should consider integrating these tools.
Improved Collaboration

By integrating live chat and Slack, you can improve communication and collaboration among your customer support team. Live chat allows for real-time communication with customers, while Slack provides a platform for internal team communication. By integrating the two, your team can easily communicate and collaborate on customer support issues, leading to faster and more efficient resolutions.
Single platform
Integrating live chat, Slack, and WordPress can optimize your customer support team efforts. You won't need an additional platform for managing Customer Support activities. Just turn on your Slack workspace and use Slack Live Chat.
Get your team involved in conversations with website visitors within the desired Customer Support channel. You won't need to train them using another platform.
Step-by-Step Guide to Integrating Live Chat, Slack, and WordPress
Now that you understand the benefits of integrating live chat, Slack, and WordPress, let’s dive into the step-by-step guide for setting up this integration.
Step #1: Create a Slack Workspace

You’ll need to create a Slack workspace for your team. If you already have a Slack workspace, you can skip this step. To create a new workspace, go to the Slack website and click on the “Create a new workspace” button. Follow the prompts to set up your workspace and invite team members to join.
Step #2
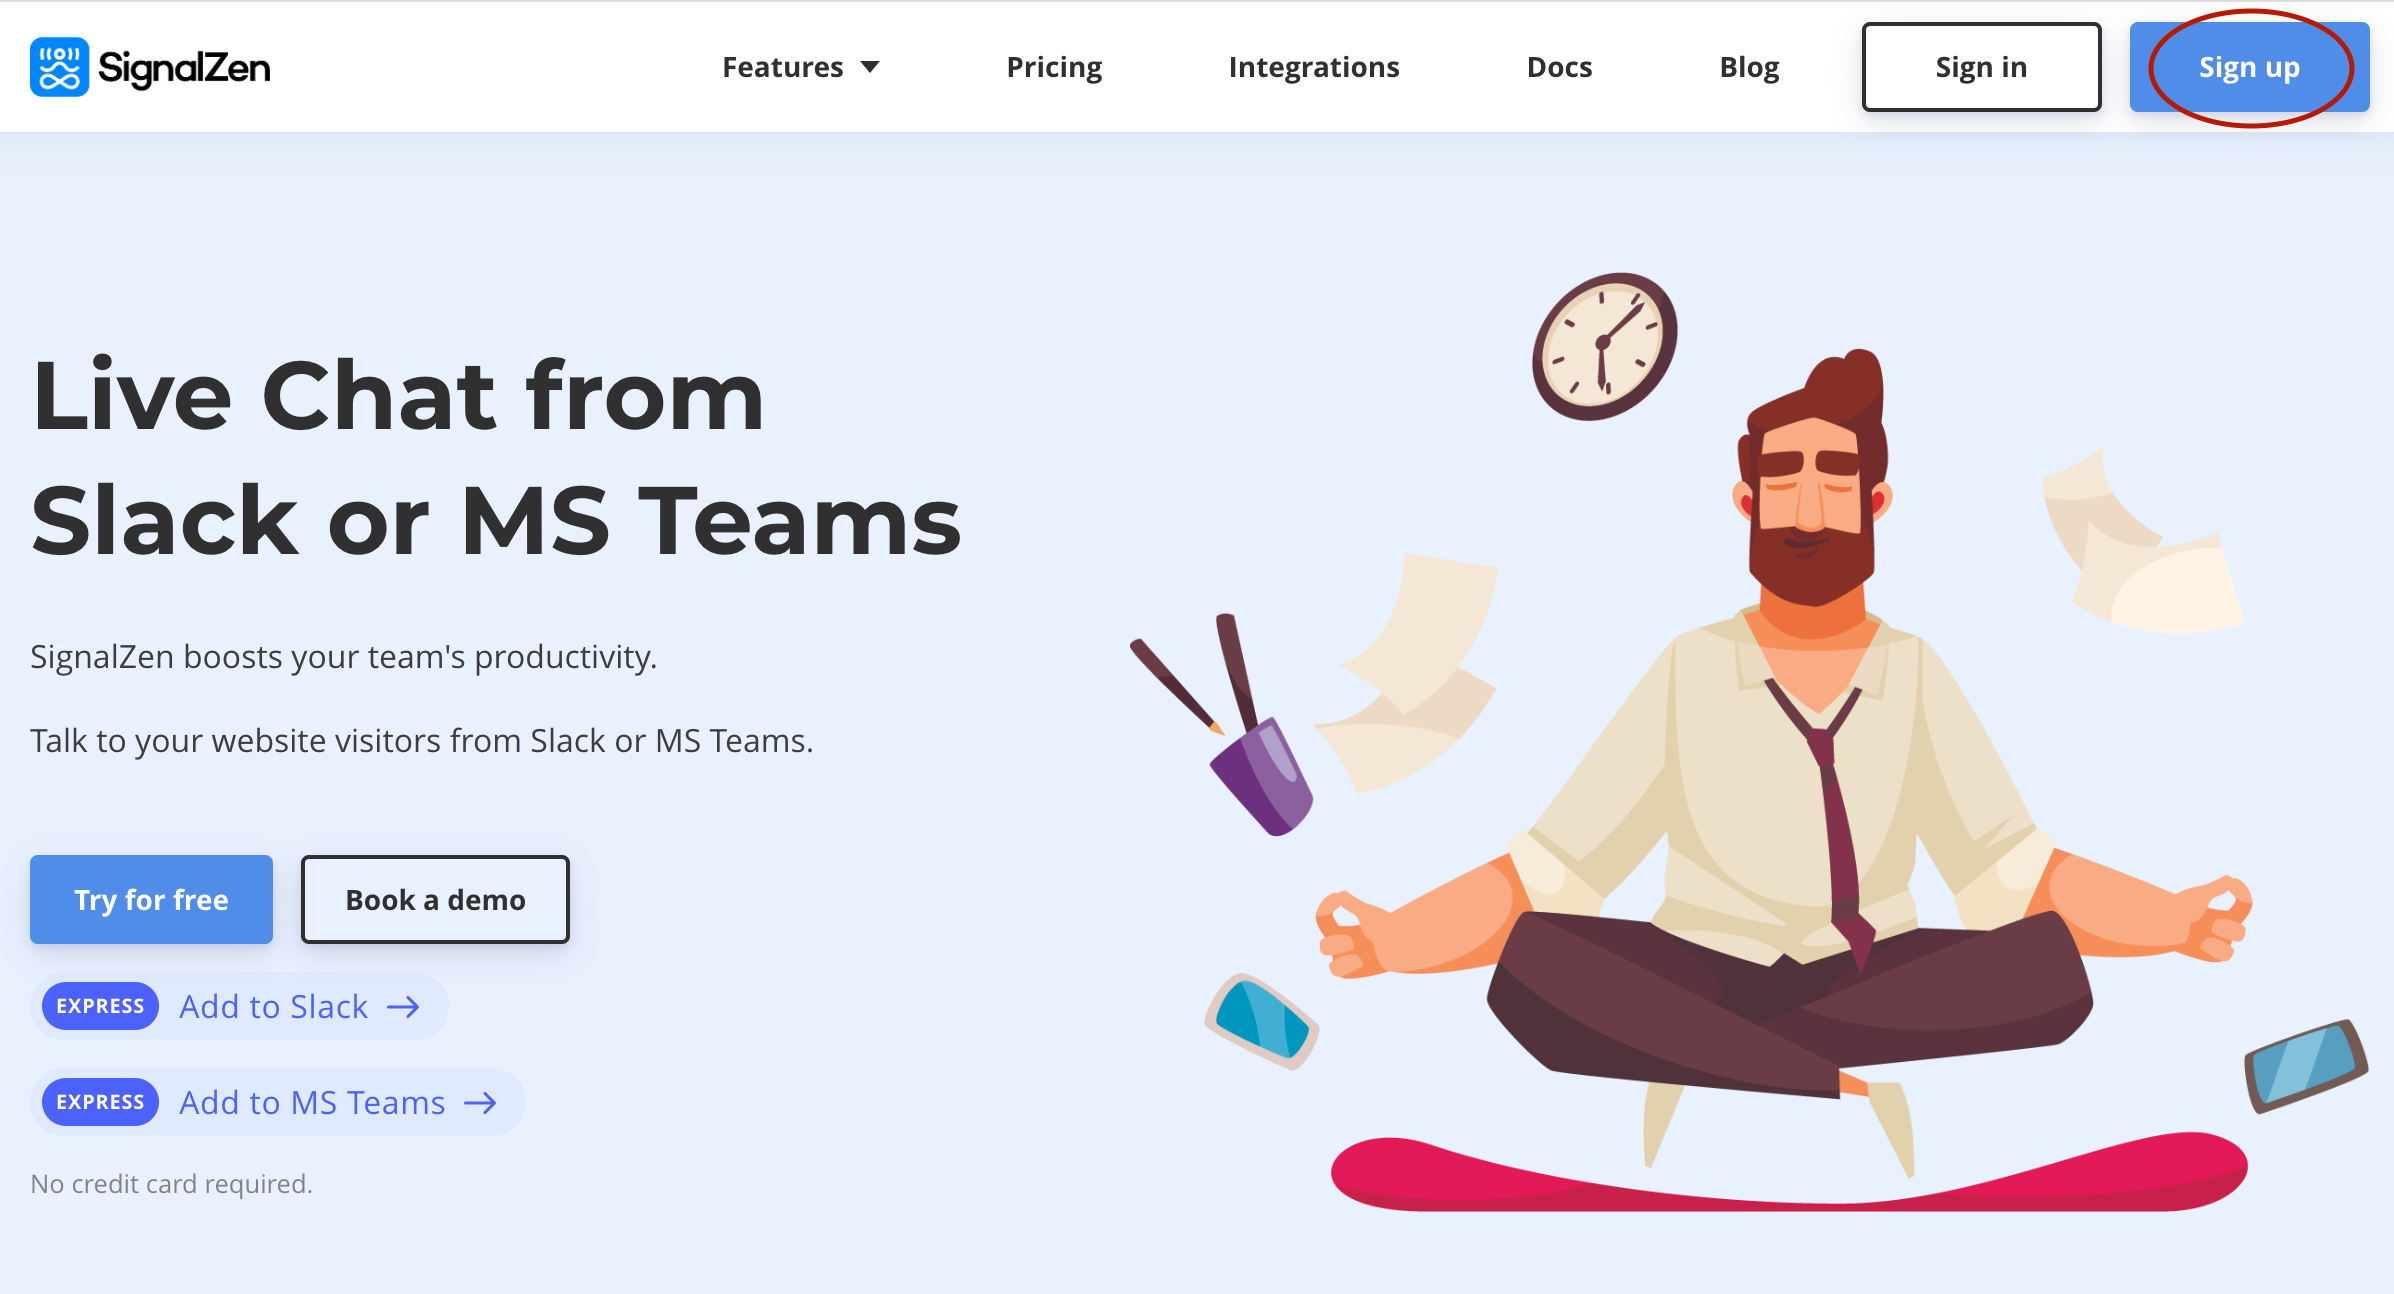
Sign up at SignalZen to create your profile and website configuration record at SignalZen.
Step #3
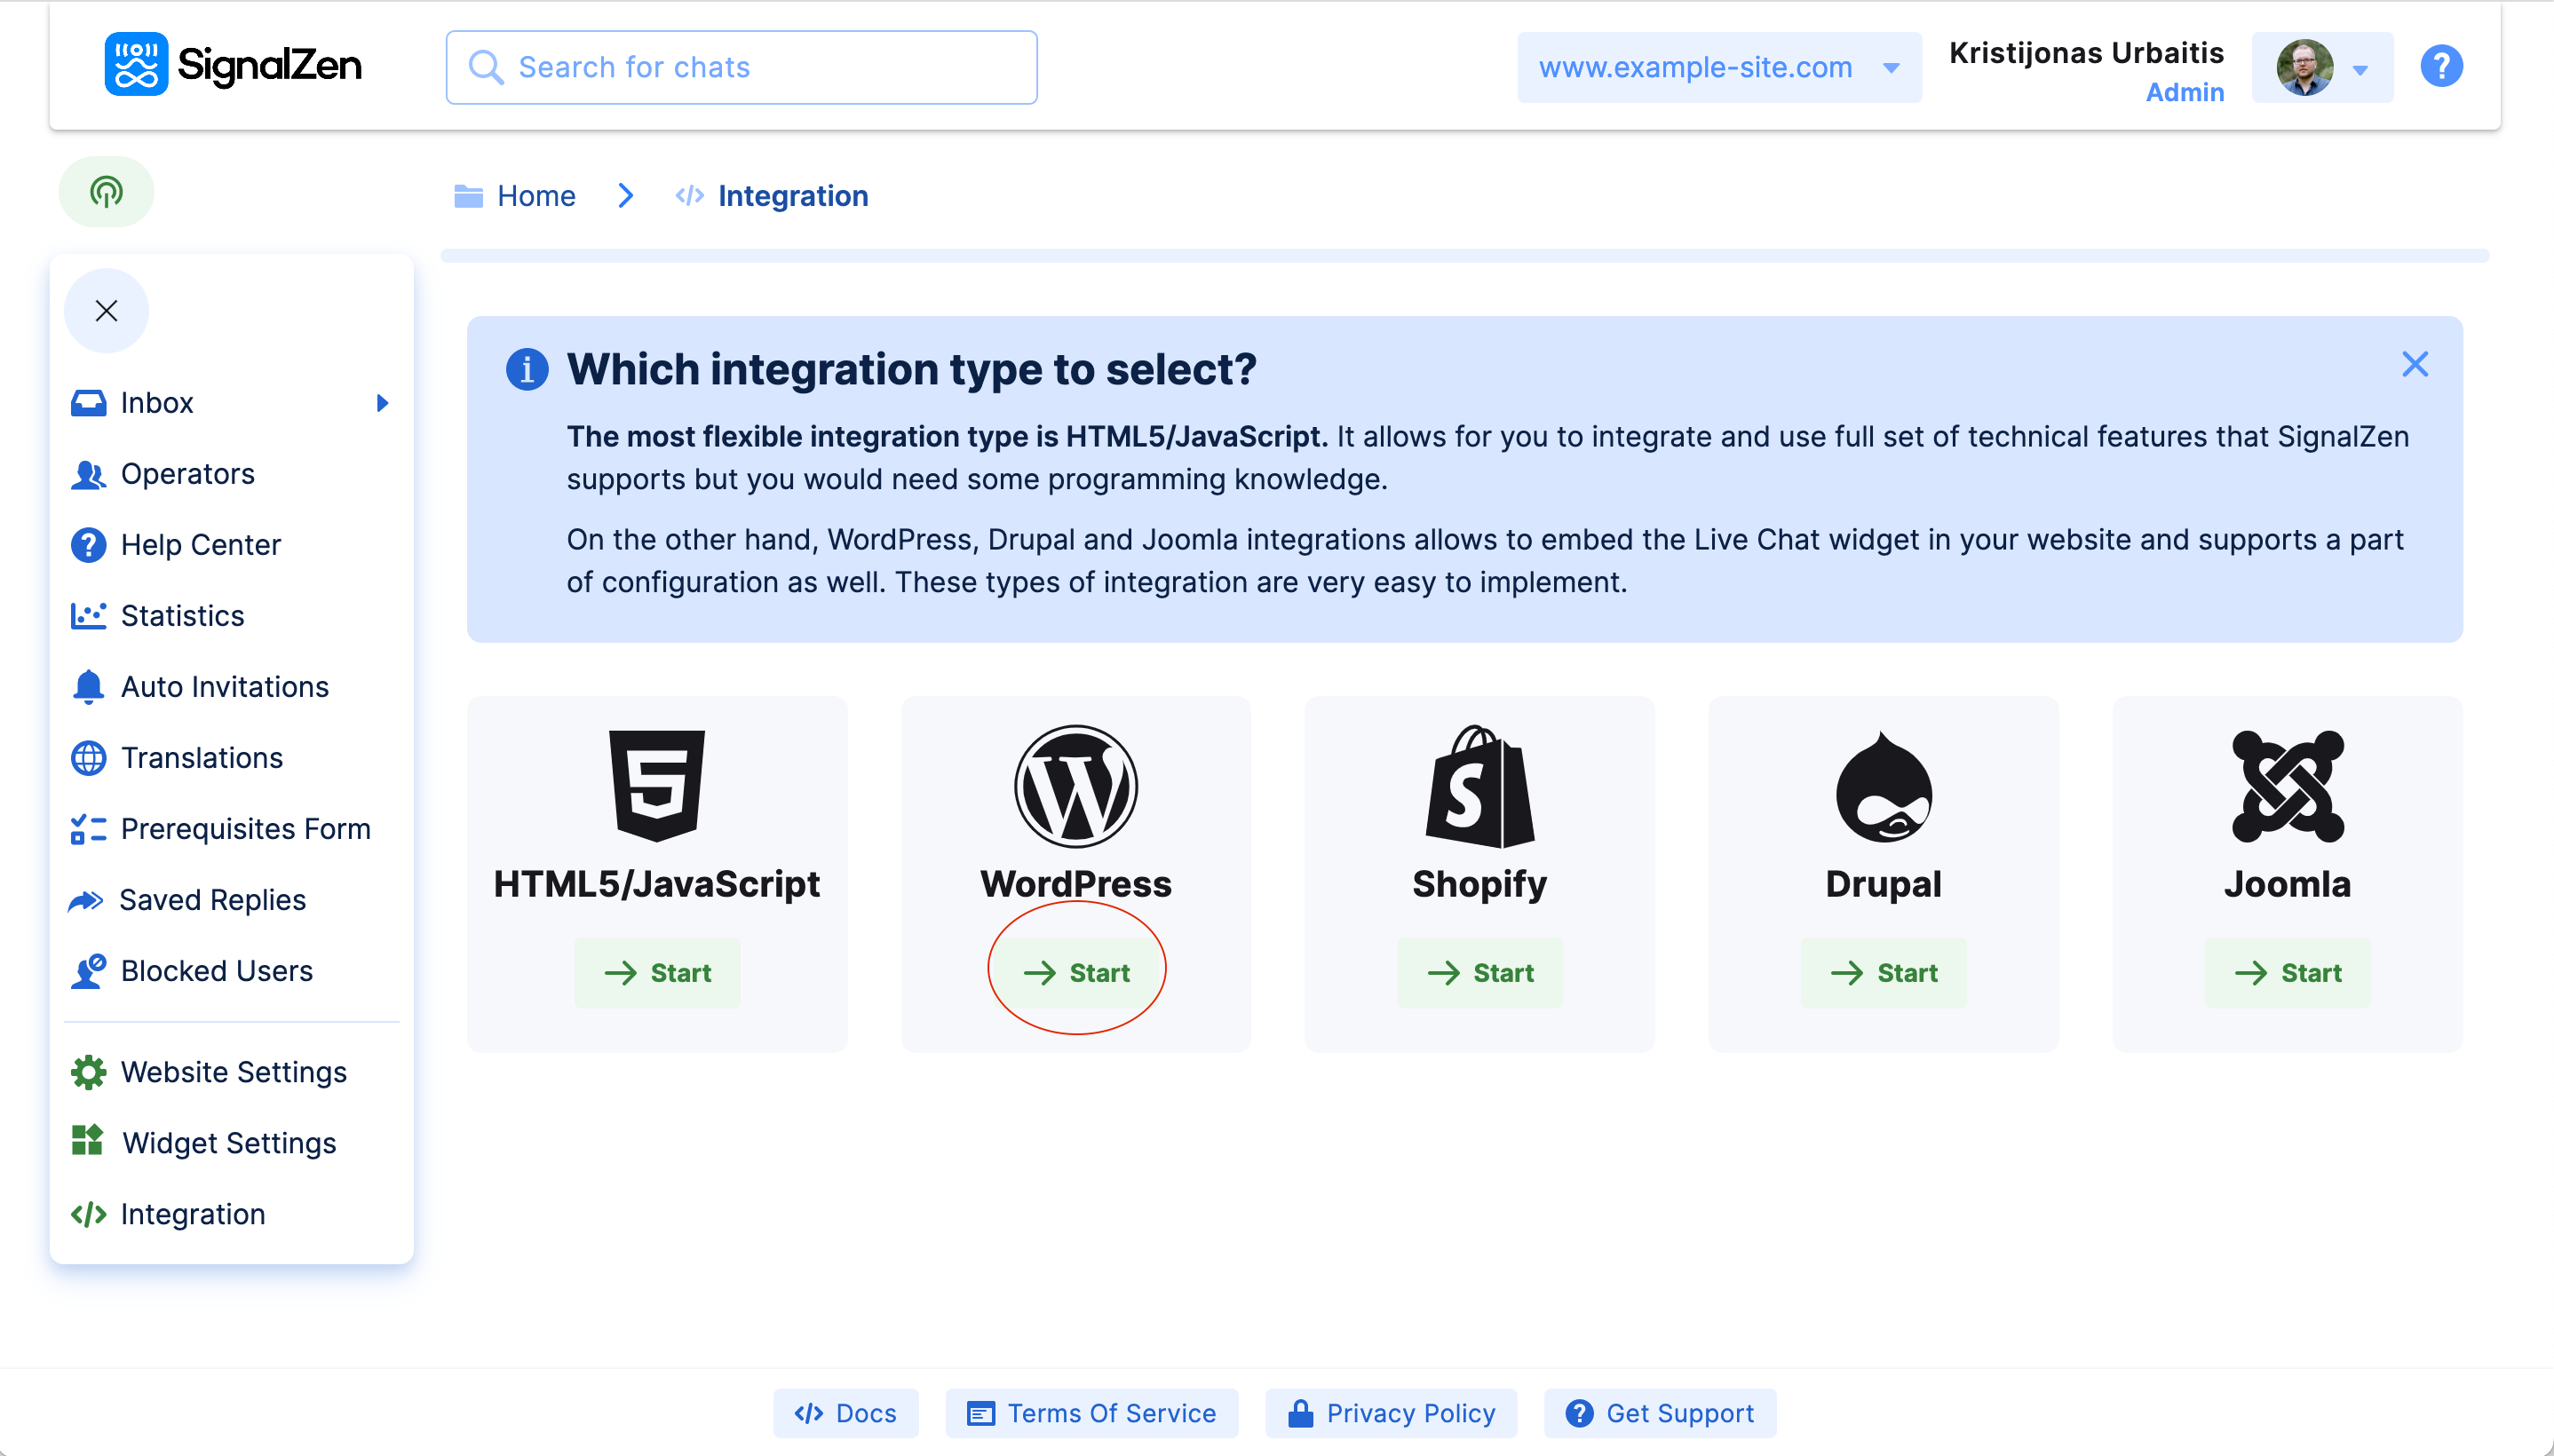
After signing up, you will land on the Console where you can perform configuration. Use the Integration Wizard to add the SignalZen Live Chat widget to your WordPress site. You will need to choose the WordPress type of integration. Click the button "Start" just below the WordPress logo.
Step #4
The 3rd step is where the SignalZen WordPress plugin comes into play. As the instructions state, please install the plugin on your WordPress website.
Open the SignalZen WordPress plugin configuration page. On your website administration panel, you will see only one field for configuration. The field "Public Token". Please enter the value you see in the Console Integration Wizard step into the field on the WordPress administration panel.
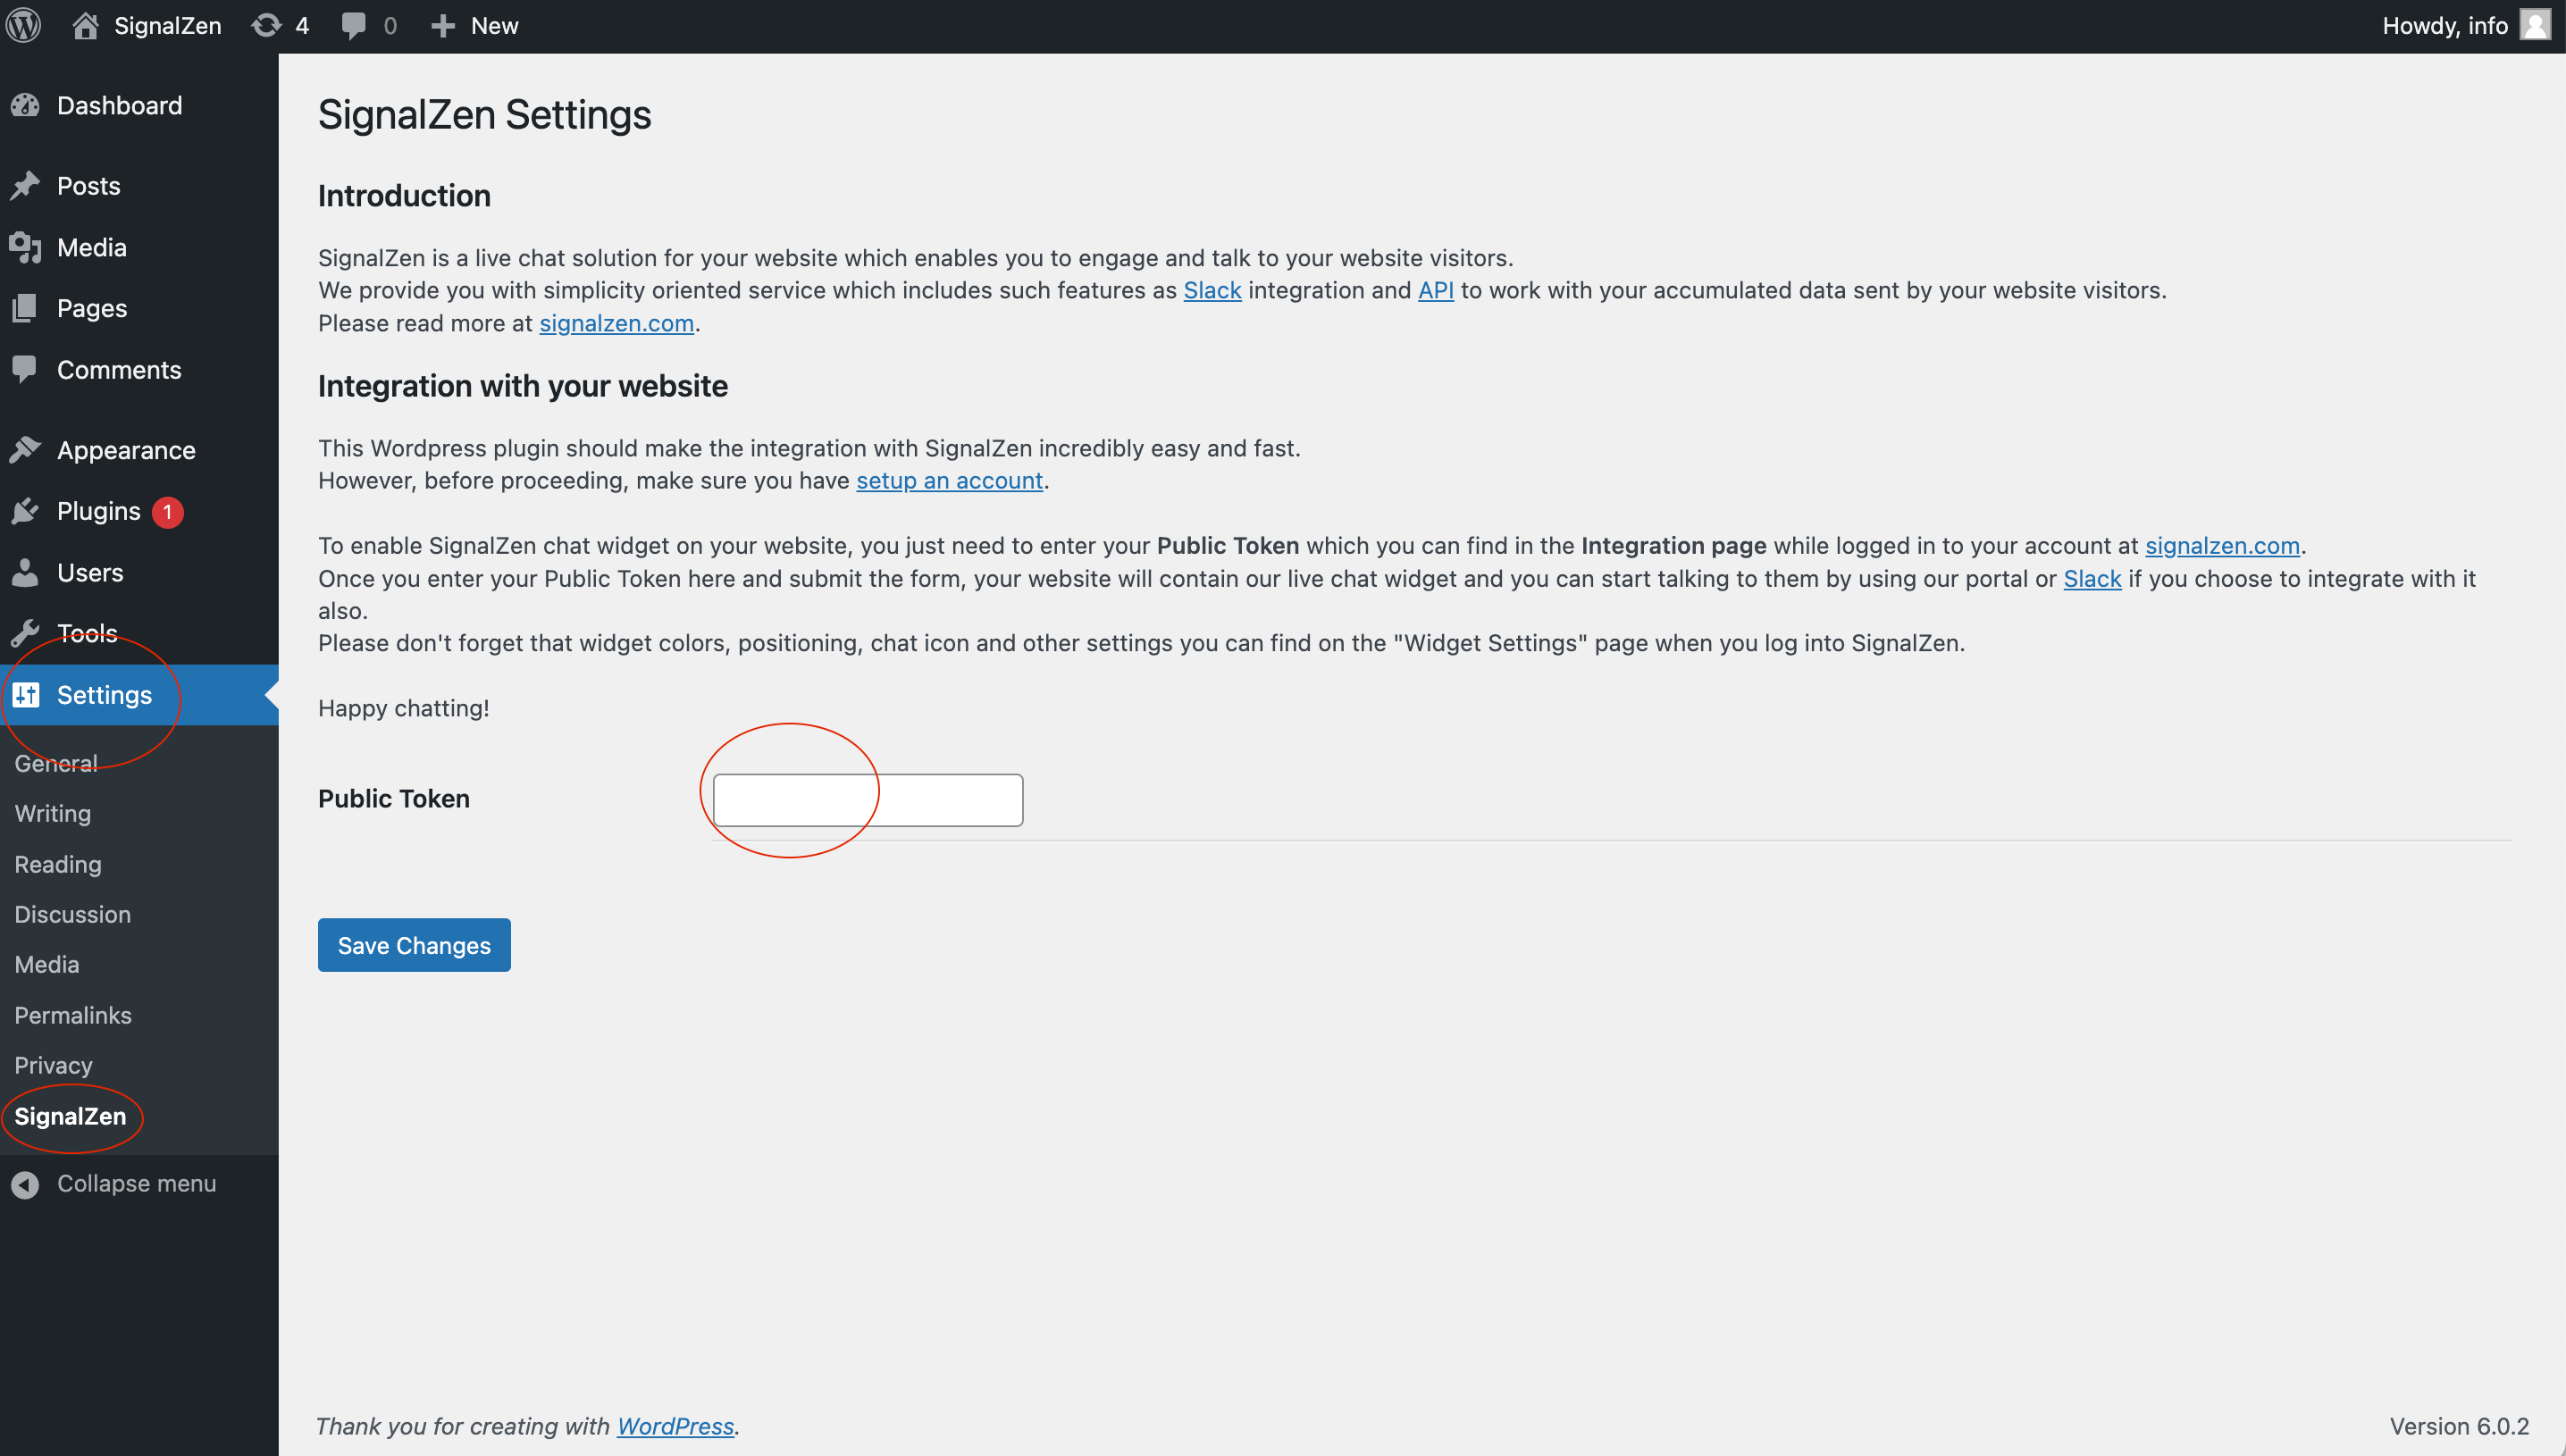
The reference "Public Token" you will use to identify your Live Chat widget configuration and inbox on SignalZen.
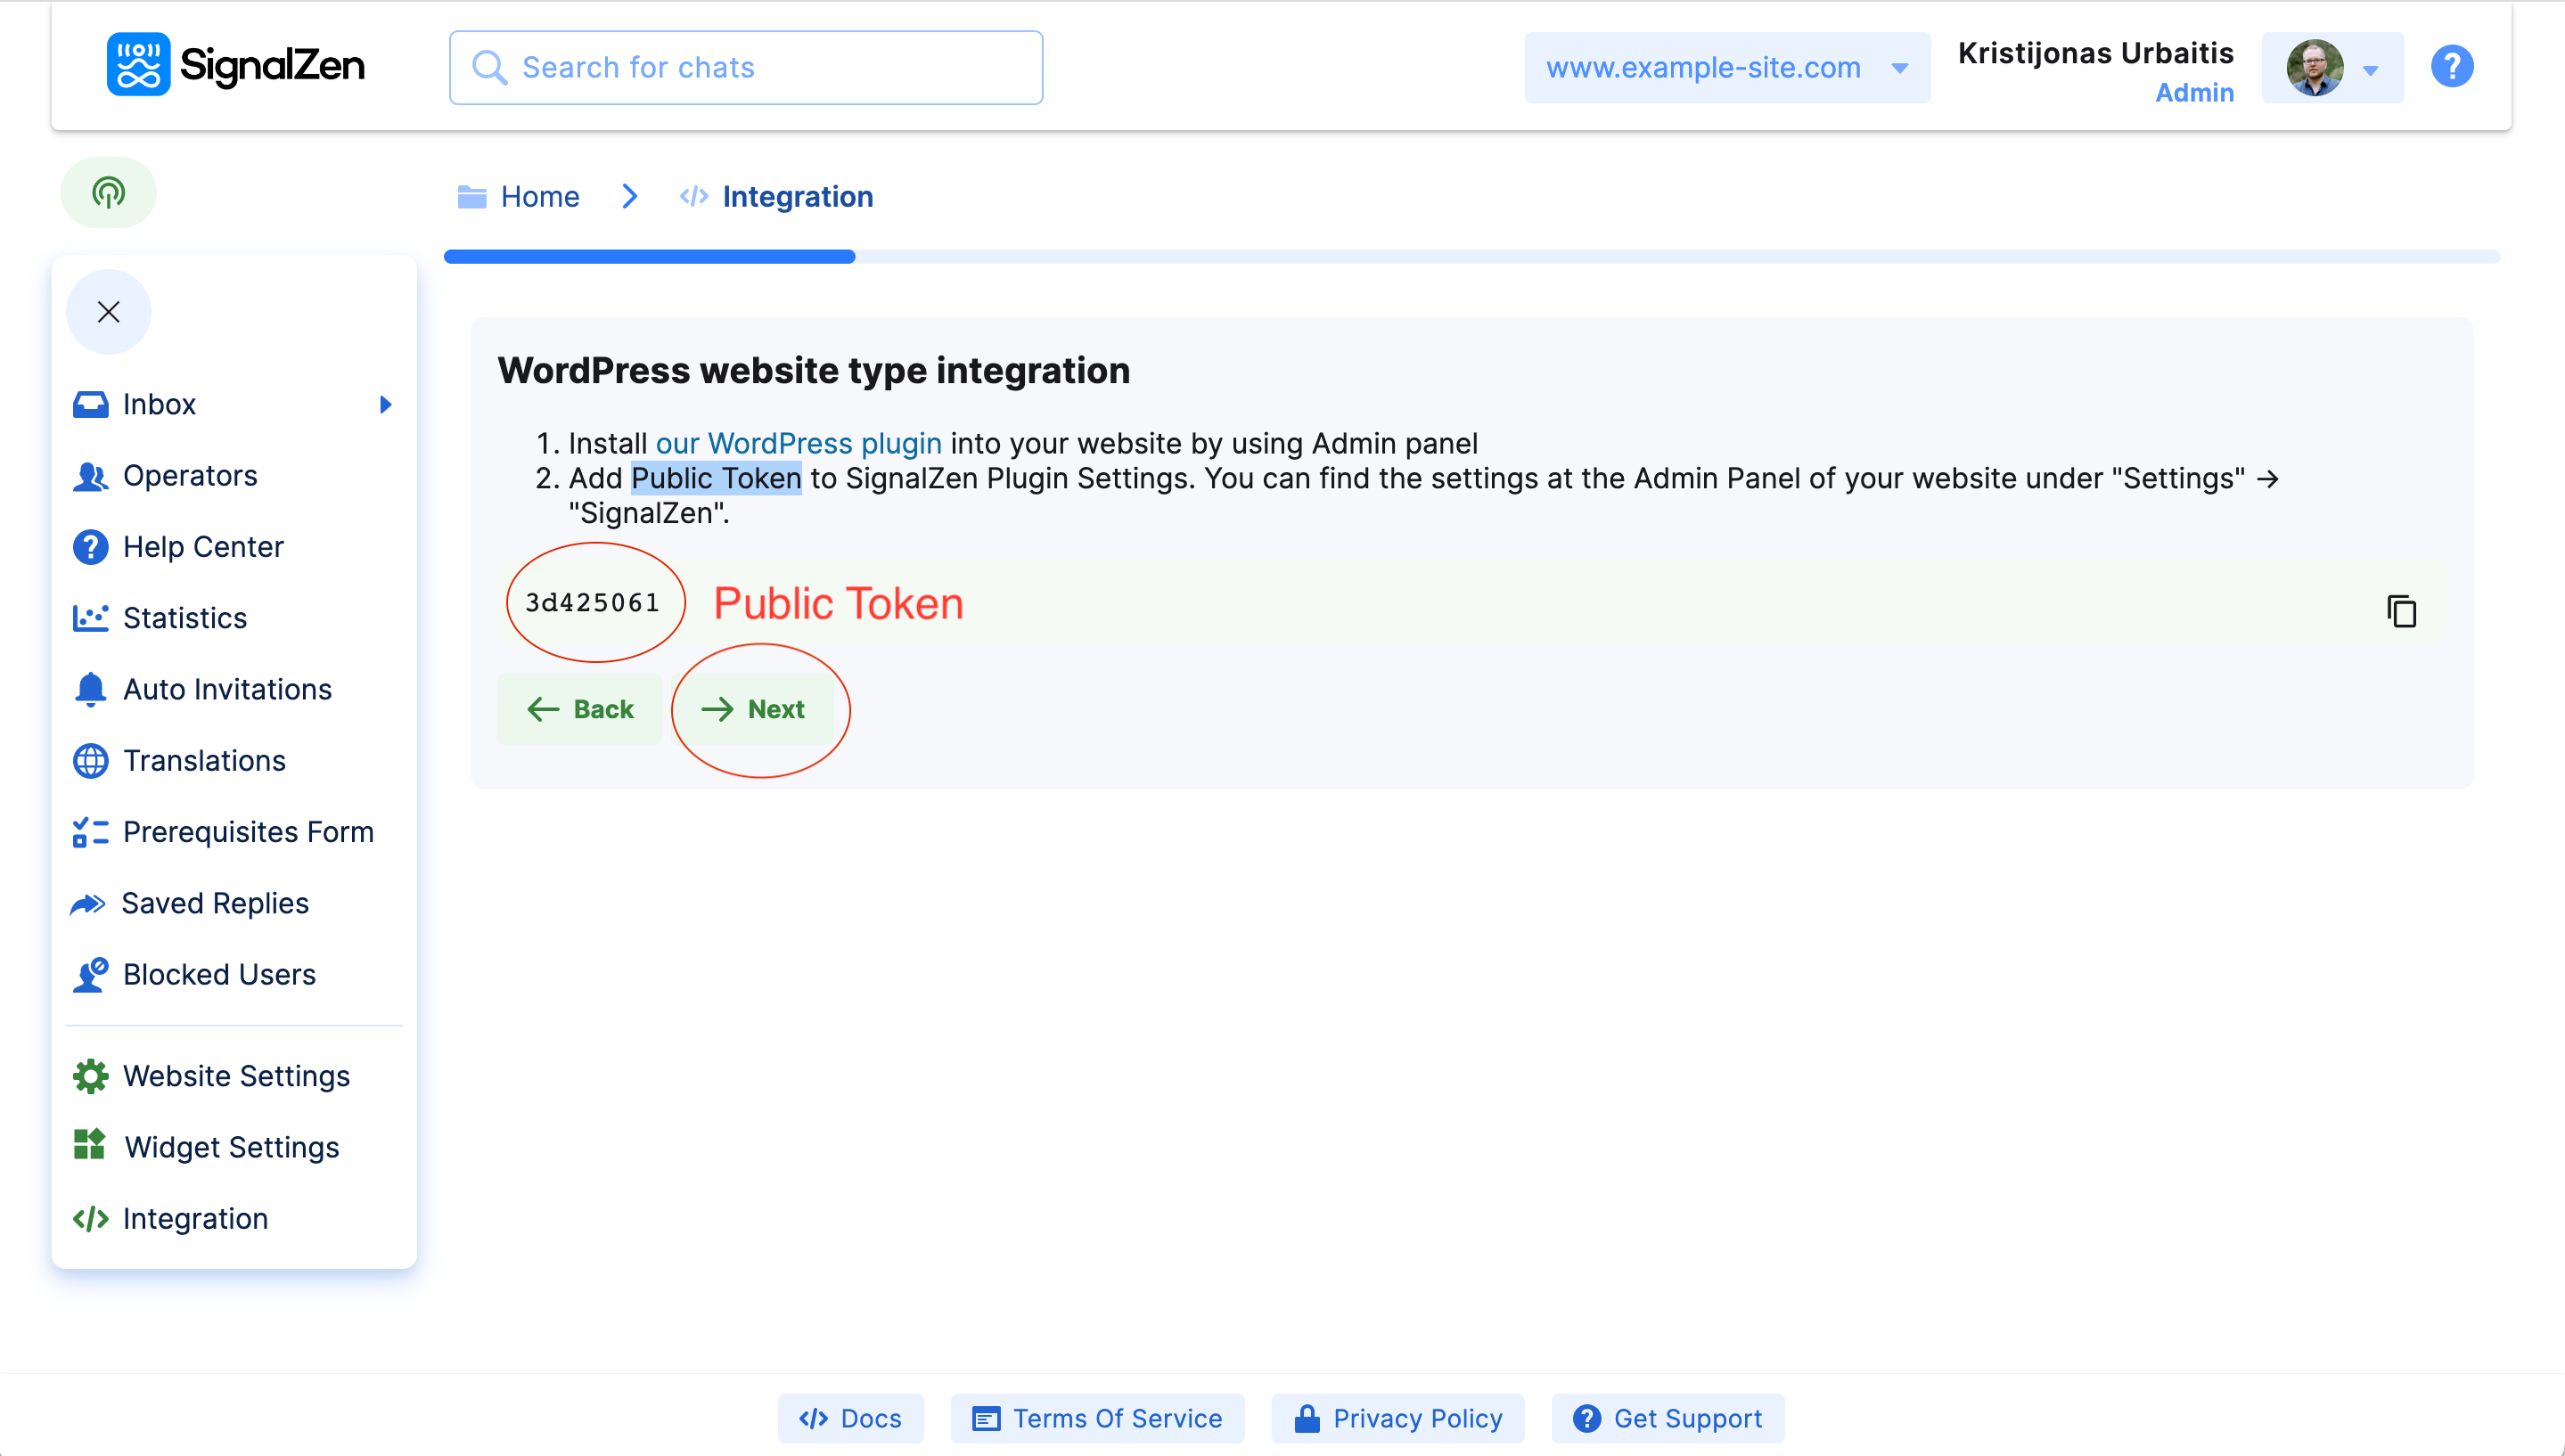
Once done with that, please click the button "Next".
Step #5
SignalZen Live Chat widget should be visible now on your website! Congrats!
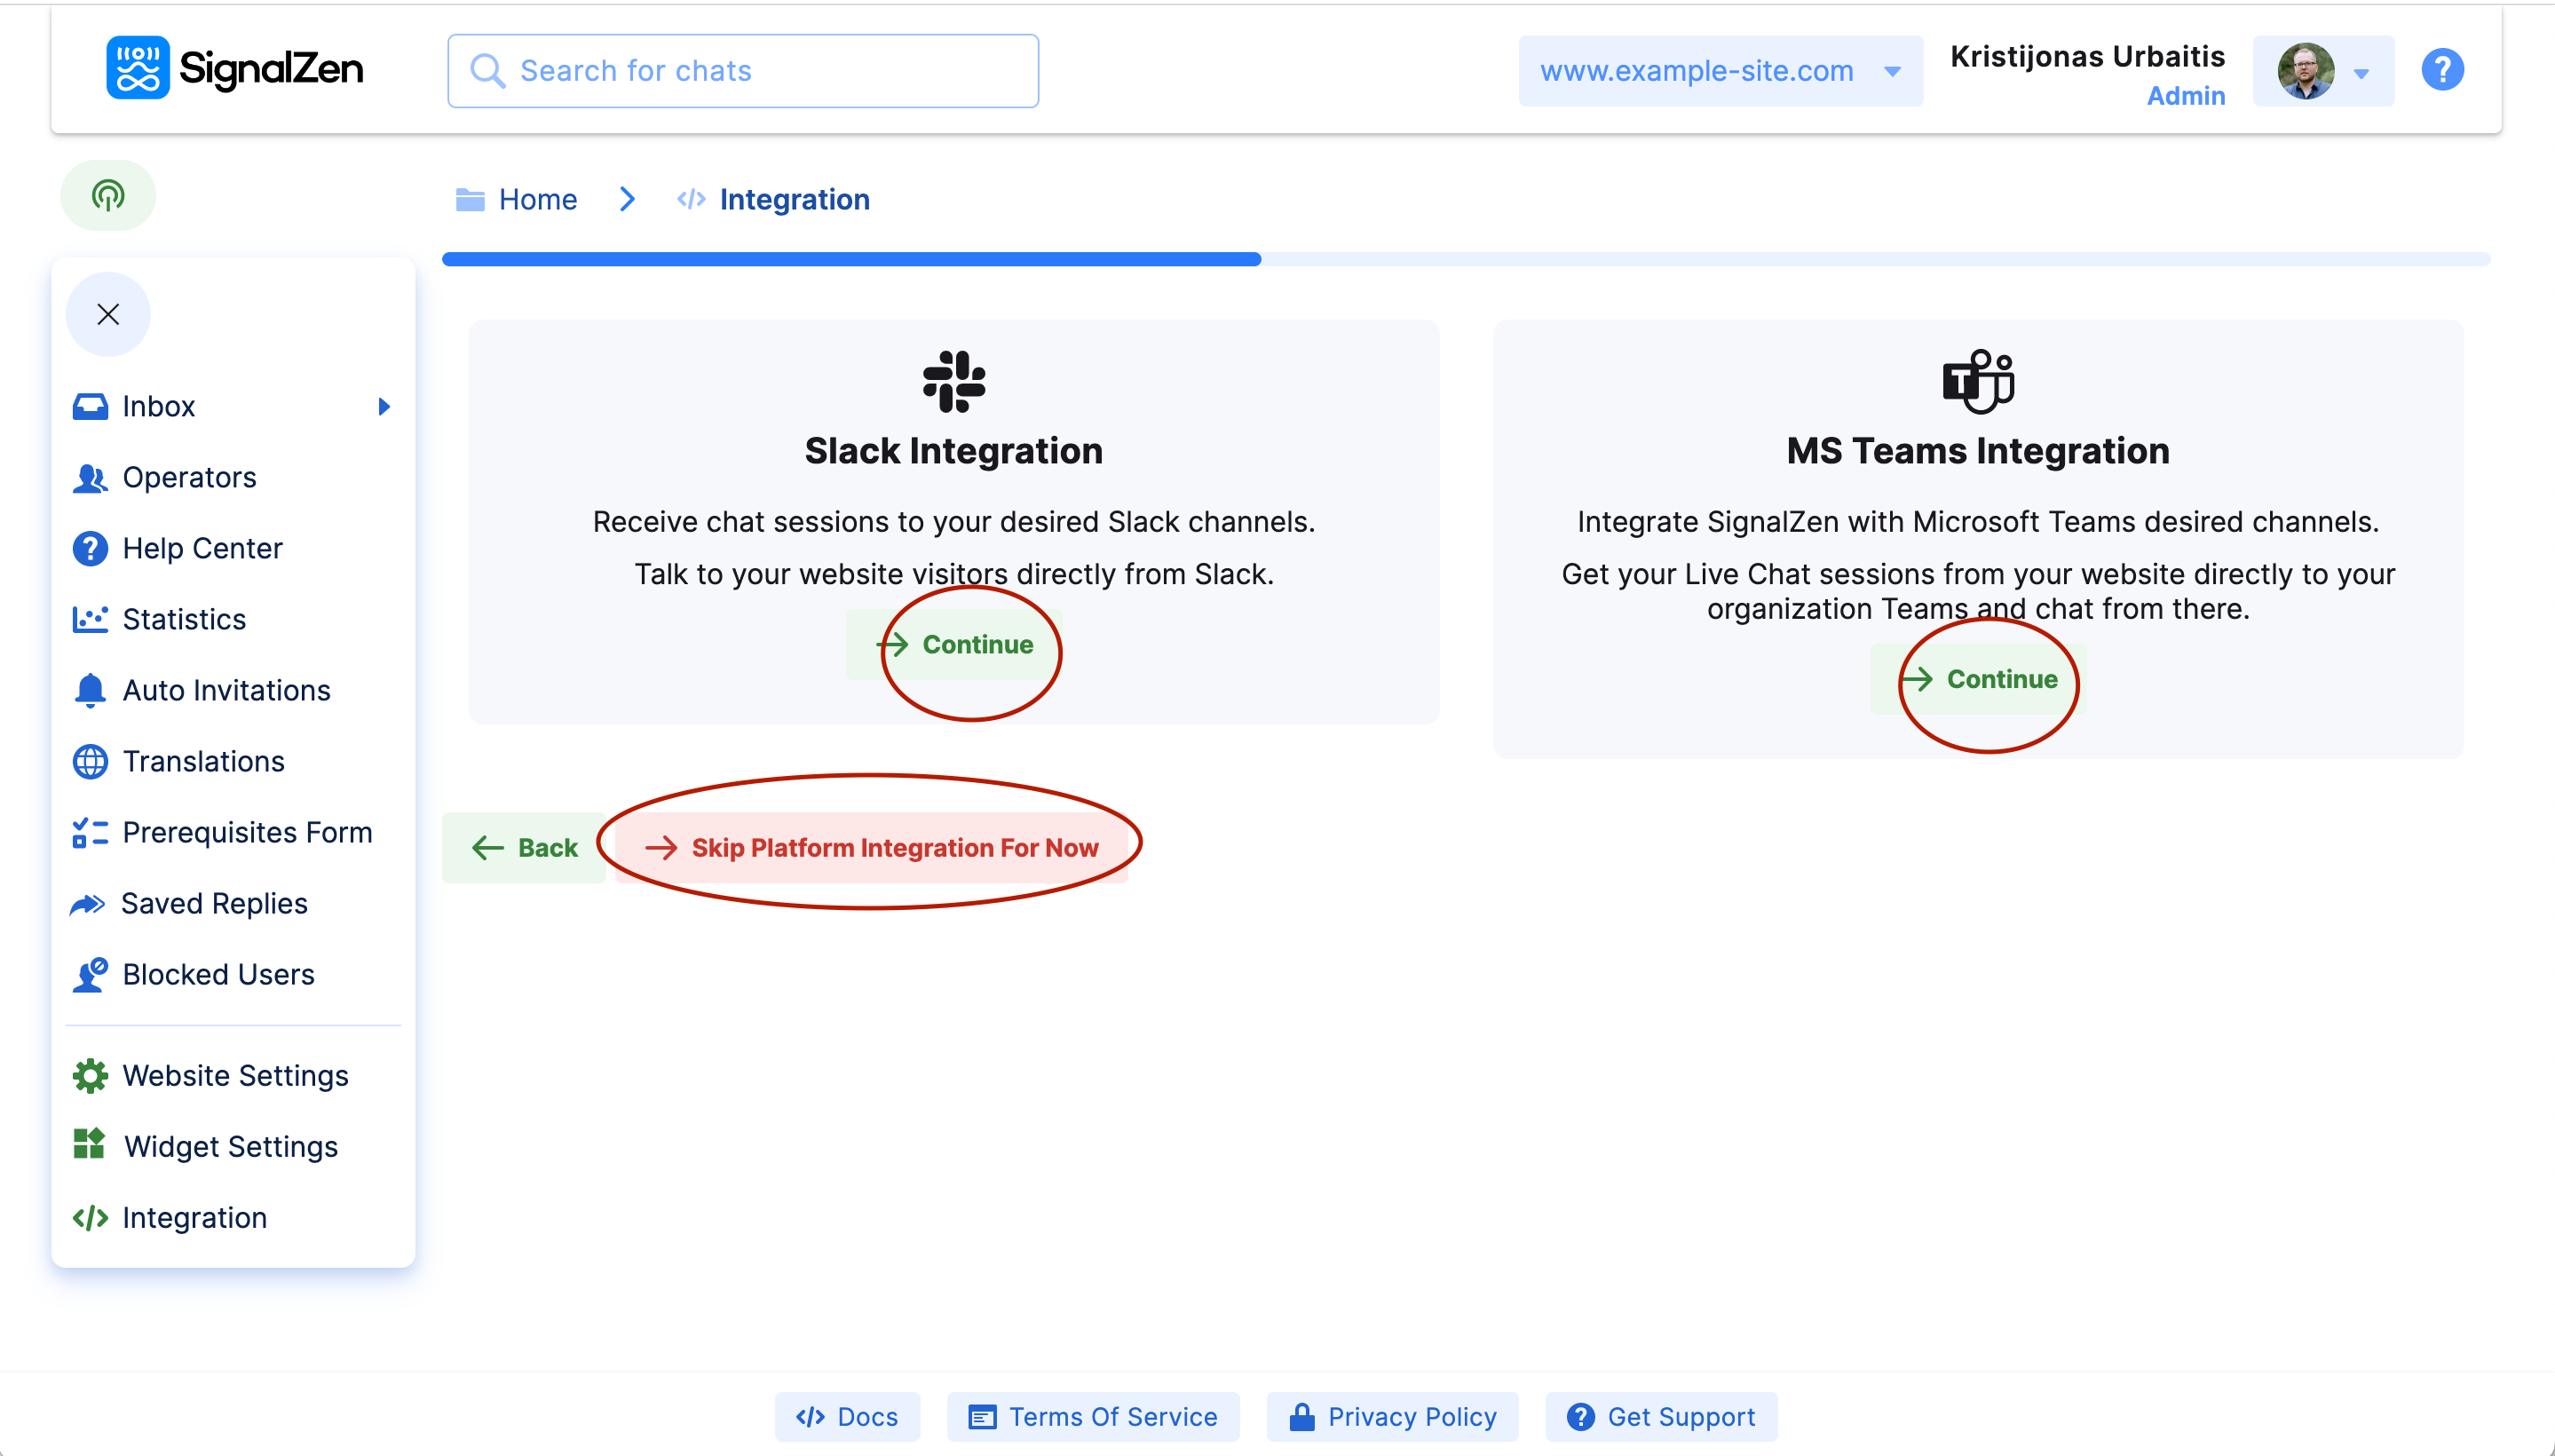
However, we still need to complete another big part of the integration Wizard. It's about the integration with your team's internal communication platform - Slack or Microsoft Teams. So, let's connect Slack to your WordPress website.
Choose the Slack integration button "Start". You can also stop here and start using SignalZen directly just from the Console and SignalZen mobile apps.
Step #6
When you choose Slack, the Wizard asks for permissions from your Slack workspace. After that, you need to select a Slack channel for notifications about new incoming real-time conversations.
Don't forget that to reveal each of these sub-steps, you will need to click the "Next" buttons.
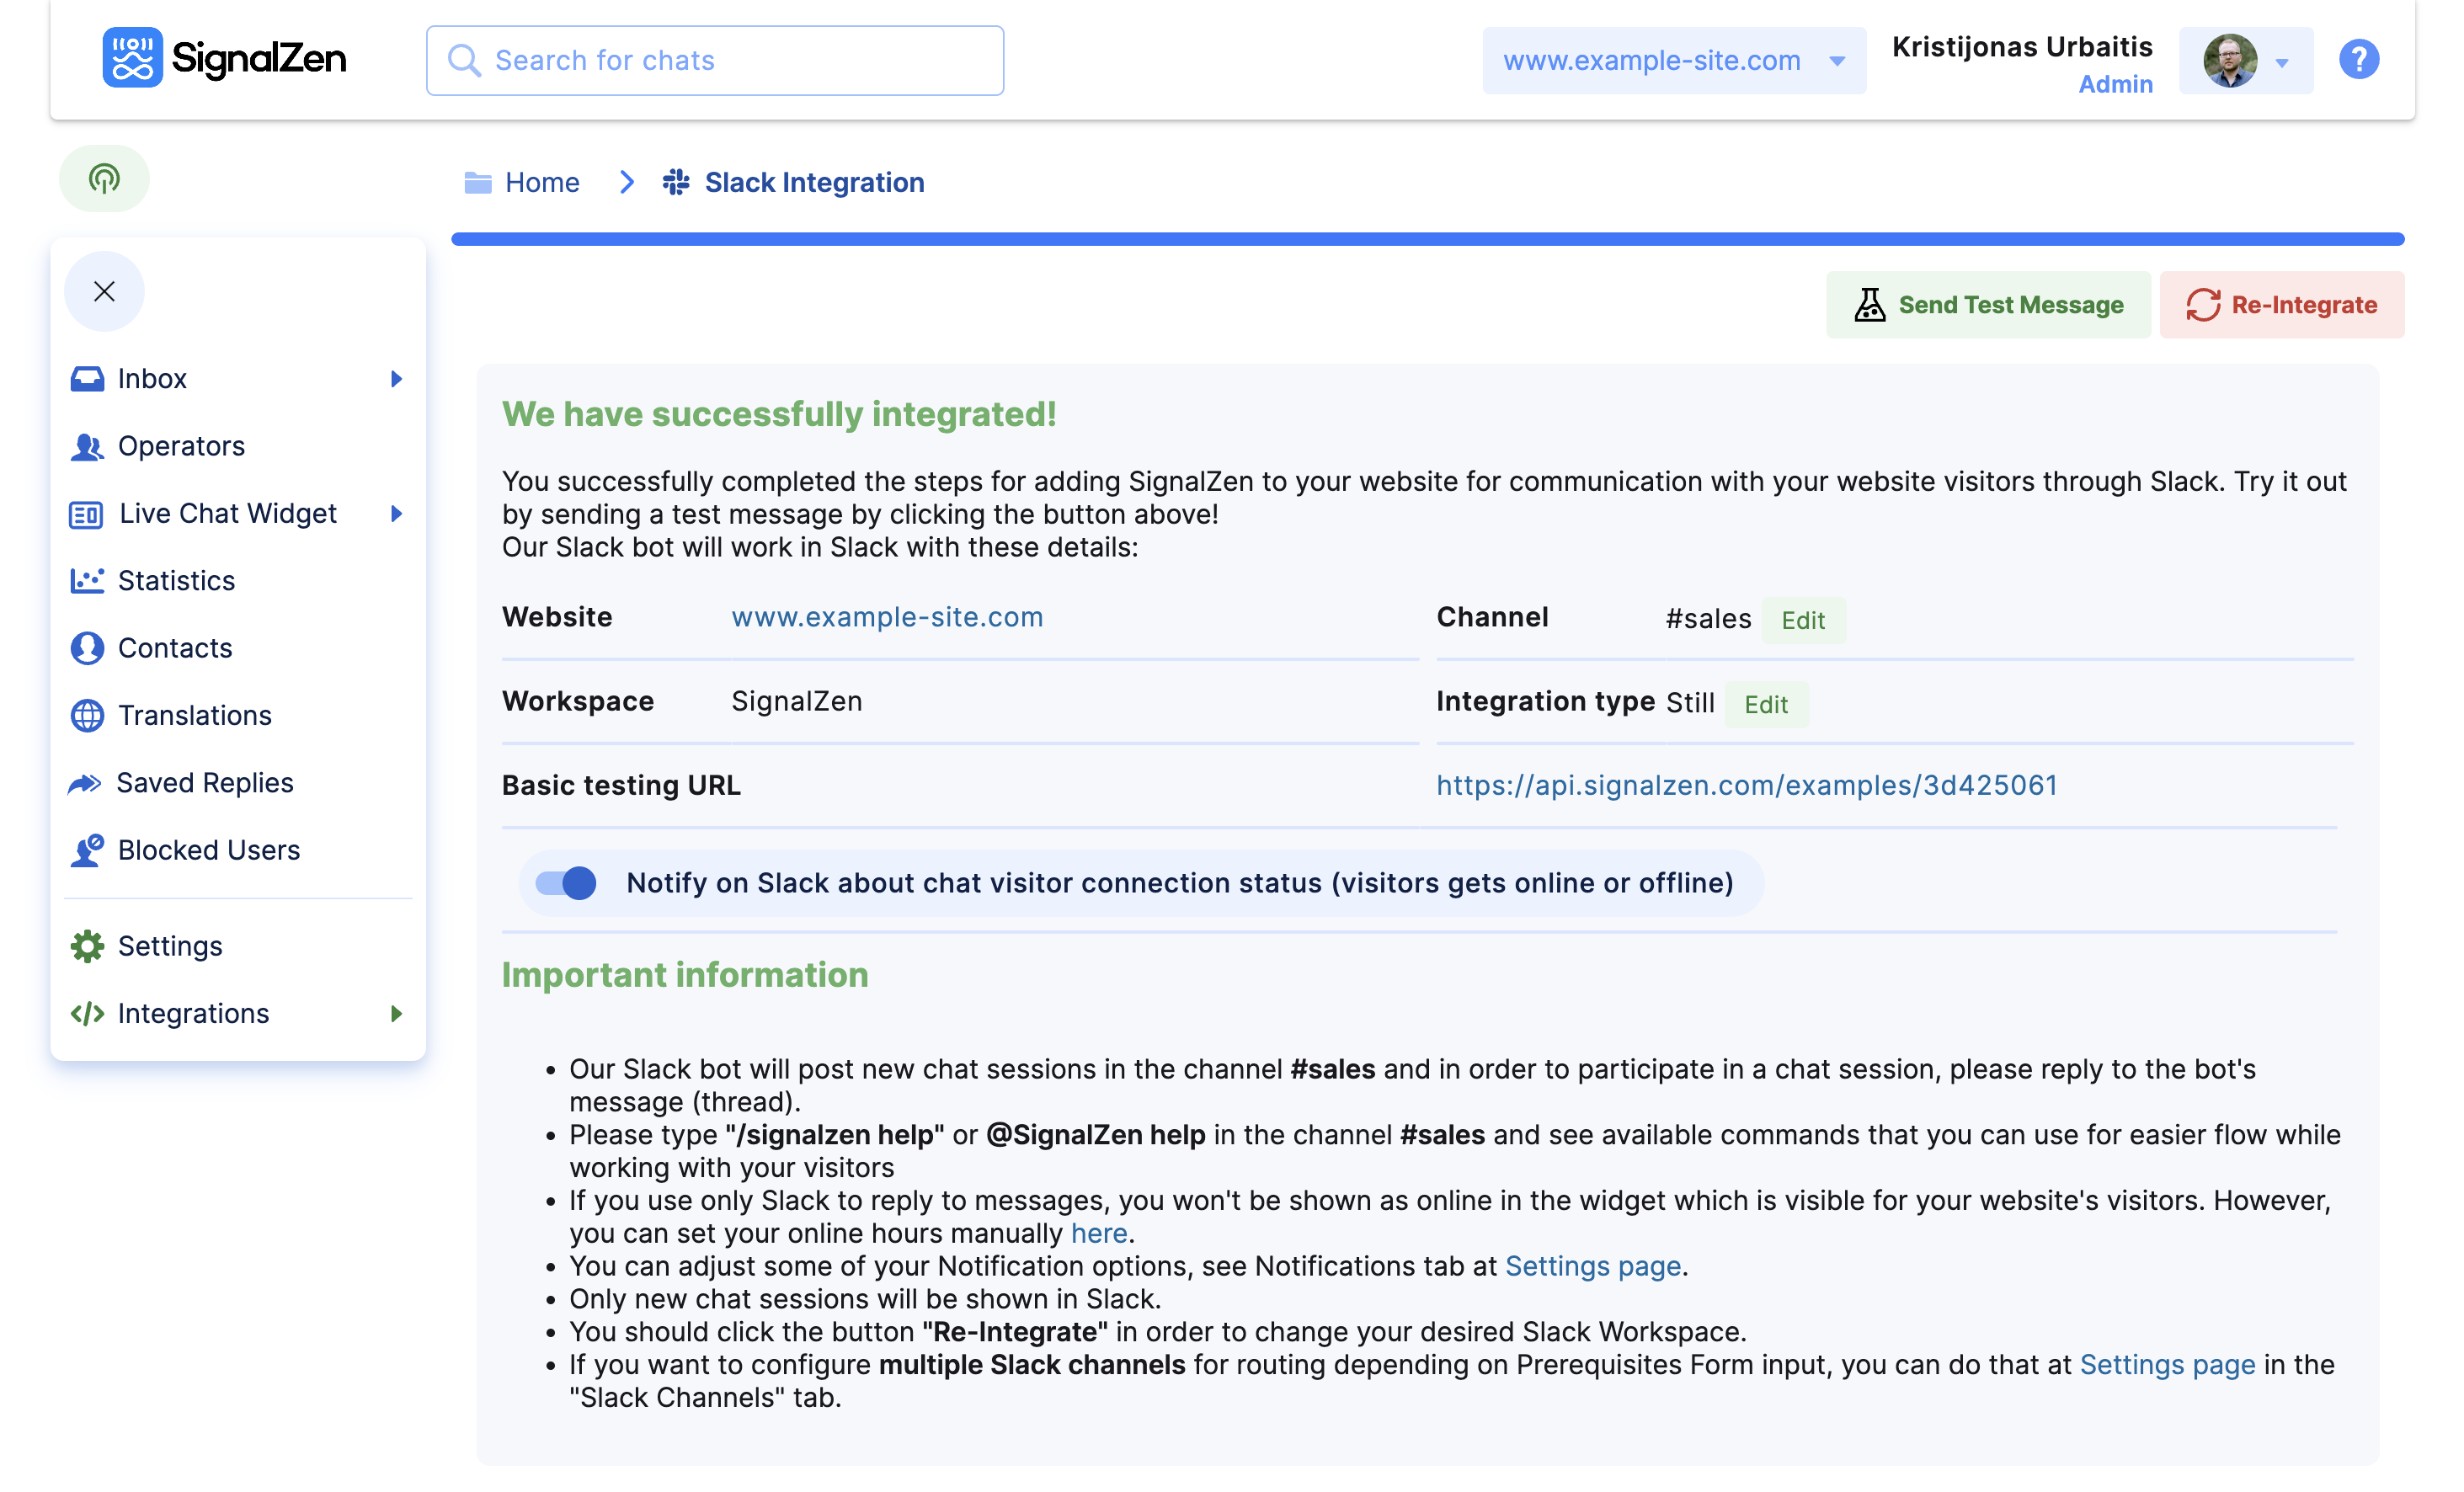
Step #7
Once you integrate Slack, you will see the summary of your integration as in the screenshot below.
Use Slack Channels for different types of questions
Setting up different channels in Slack can help your team stay organized and handle support requests more efficiently. You may want to route your conversation notifications to different channels. For that, you can use Smart Routing. This will enable you based on Prerequisite live chat form inputs to route your conversations accordingly.
Train Your Team on Using the Integration
To ensure your team is using the integration effectively, it’s important to provide training on how to use the solution. The training is very intuitive. You could explain to your team how to respond to live chats in Slack, and how to use the automated responses.
Also, make sure that your team members subscribe to push notifications from Slack so that all conversations would get attention.
Conclusion
Integrating live chat, Slack, and WordPress can greatly improve your customer support process and lead to increased productivity and efficiency for your team. By following the steps outlined in this tutorial and using the tips provided, you can successfully integrate these tools and provide a seamless and efficient customer support experience for your customers.
